Photos and text by Edwin Yang
For DeltaClub, we spoke to Edwin Yang, an aspiring young content creator from Jakarta. You probably came across Edwin’s photo on Instagram or Pinterest, his signature style flat lays are simply impossible to miss.
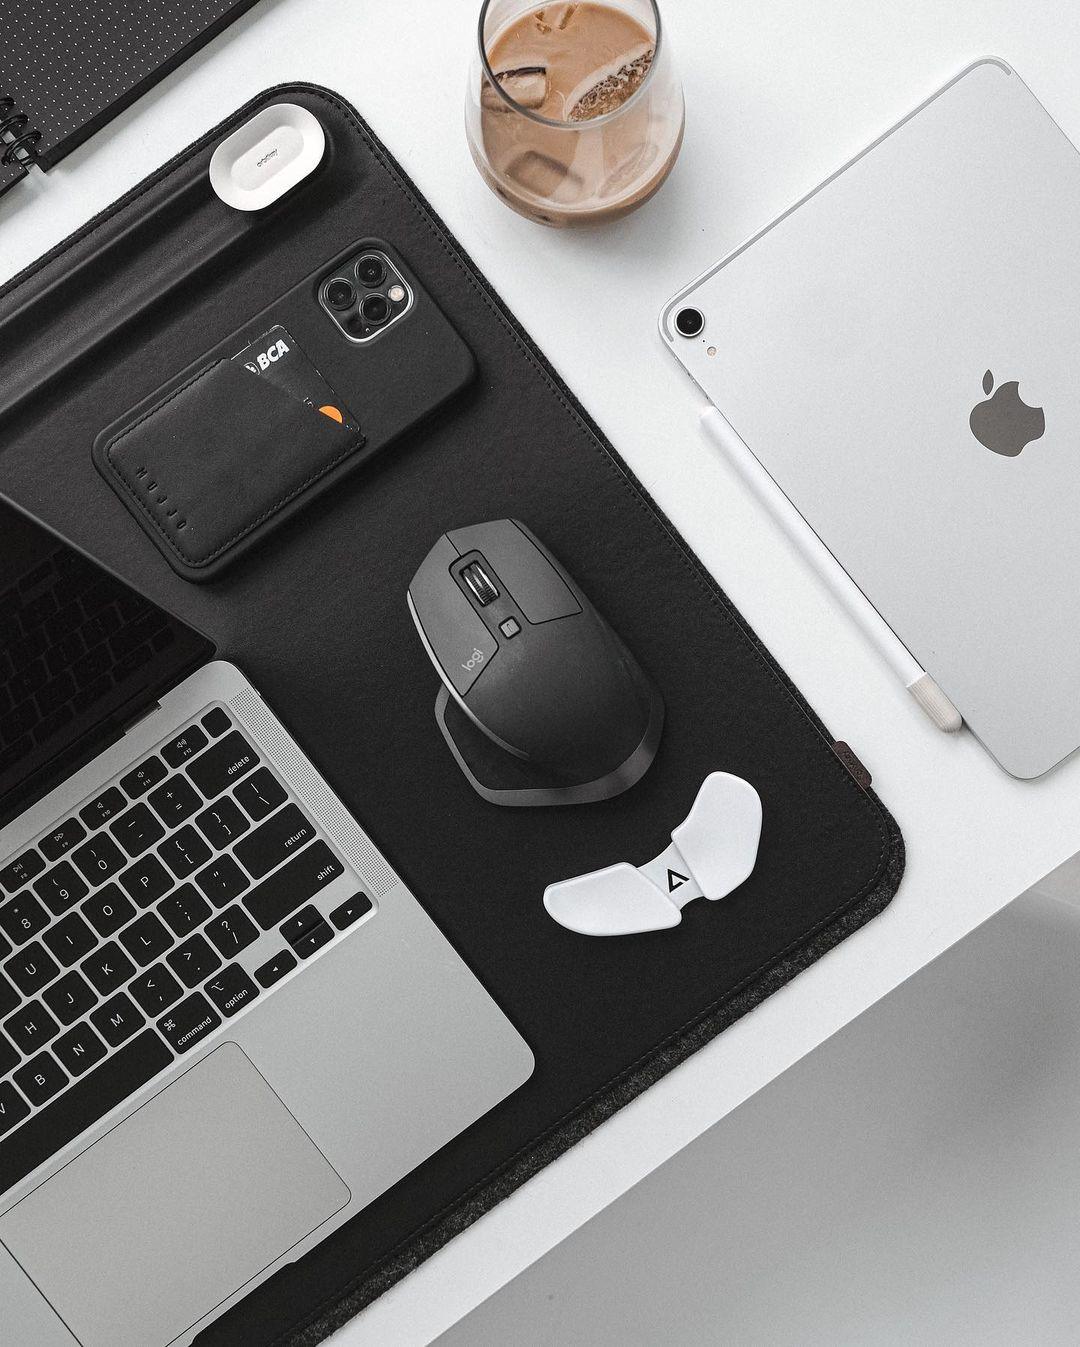
Flat Lay Photography or The art of arranging objects in a visually pleasing way. Props look like they fell perfectly onto the desk, even though there's a lengthy thinking process involved. One may as well call this style Controlled Chaos.


1. Lighting
I can’t stress enough about the importance of lighting in photography. For me it’s the key factor in creating successful photos. It determines not only brightness and darkness, but also the vibe, the tone, and the mood. So, it is a must to manipulate lighting correctly to get the best out of your photos.
You can use natural lighting or you can set up artificial lighting to get better control. I personally use natural for over 90% of my photos. You can take advantage of the light from the window. I avoid using my room lightbulb as lighting as the position is directly on top of my set, so it’ll create unwanted shadow from my camera to the set.
Also, you can produce two kinds of lighting: harsh lighting and soft lighting. If the sun is bright you will usually get the long, defined, contrast shadow, hence called harsh lighting. For flat lay you should think twice to use harsh lighting as the shadow is defined enough to be counted as the items on the frame.
- Example of harsh lighting:

- Example of harsh lighting on flatlay (look at the shadow):

To get soft lighting, I usually use a natural diffuser from the sheer curtain installed on my window. It helps soften the shadows so the object usually will look better as they’ll be the main attention.
Example of soft lighting with diffuser installed:

2. Composition
Let’s talk about composition. For flatlay, composition is important to make sure your flatlay is looking good. There’s a lot of theories out there and it’ll take a whole article to discuss about it so we’ll talk about some basic stuff here.
First, pick the theme of your flatlay and keep it relevant. For example if you’re shooting a food flatlay, you’d want to put the food, spoon, fork, plate on the table. It’ll be off if you put beach sandals on the frame. The same goes to other themes.

Also, you might want to pick a certain color scheme for your flat lay photos, as you can use different approaches. Some examples are:
- Uniform color, eg: all black colored items

- One different color that pops out, eg: red on the main items with monochrome colors around.

- Several colors (learn more about color wheel theory).

Other things to be considered is the balance. If you put large items, you might want to combine smaller items in between. If you put circular shaped items, you might want to combine some square shaped items around.
Last but not least, consider the focal point. If you’re taking a flatlay of the phone for example, you might want to put it in the center, and other supported items scattered around the phone. Try to take some pics and look at them by yourself, the main items draw the attention on your first glance. If yes, you’re on the right path.
3. Background
Pick a good background. Personally I use a simple clean background to make sure the items are the one highlighted, as opposed to the background drawing the attention away. The material of the background also needs to be considered.
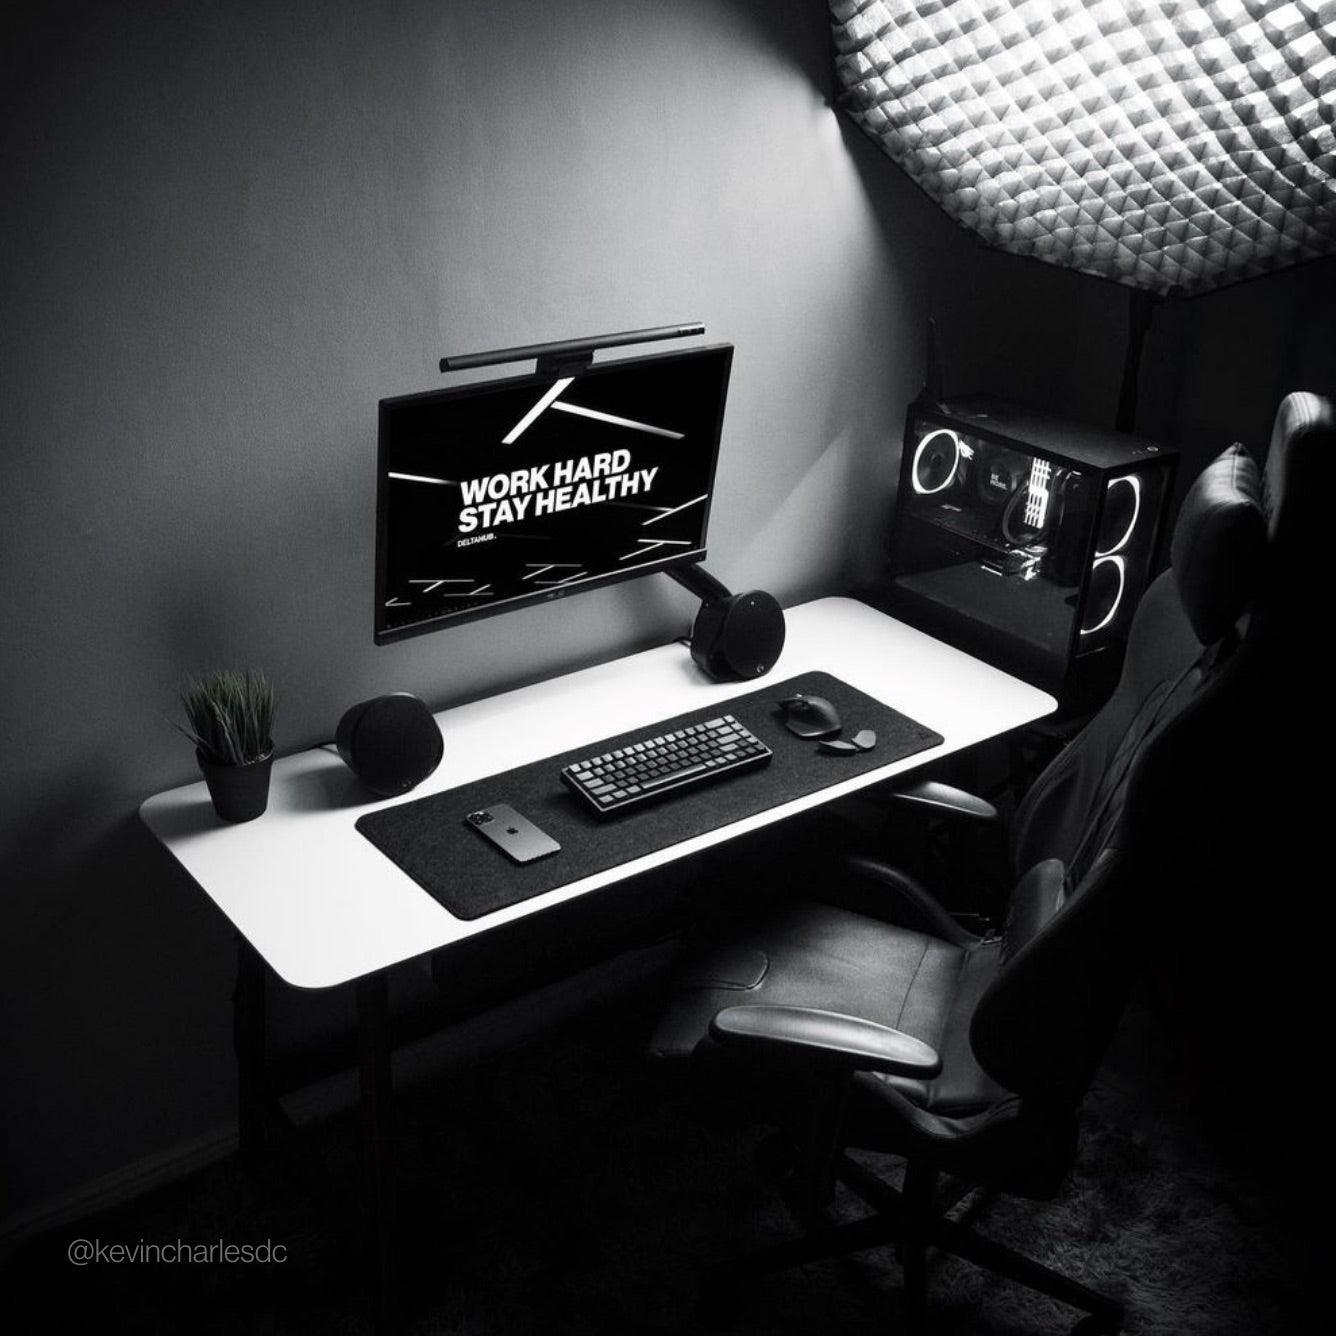
I want my background matte, not reflective so the lighting will drop more evenly. Also, you would want to make sure the color choice didn’t disrupt the items. For example, you can use white background for black items. But sometimes it’s also good to break the rule a bit, for example using black background for black items to create a dark uniform colored result.


For example, you can use white background for black items. But sometimes it’s also good to break the rule a bit, for example using black background for black items to create a dark uniform colored result.
4. Props
Actually, this is optional as you can also shoot minimal flat lay photos. But generally, more props are better as it helps you to create more combinations of your flat lay photos.
You don’t have to buy all the props as you can use stuff around you, like pennies, rings, pens, paper clips, books, newspapers, glasses, etc etc.

How many props do you want? Yes.
5. Tehnical
Let’s go technical for a little bit. If you’re using a camera, you might want the lens with lower focal length (smaller number of mm) as it will capture wider images, resulting in a better flatlay. Also, consider using a smaller aperture (higher f-number) as you didn’t want any depth blur on our flatlay. Personally, I’m using a 27mm lens with f/4 most of the time.
For editing, I usually use Lightroom to adjust the result for my liking. For flatlay, I prefer my end result sharp, so I tend to increase clarity and texture, but it depends on what you like. I also play with the color, as I didn’t want too many colors on my flatlay generally. So, I kill some colors to make it look more uniform.
- More texture, more clarity.

- Eliminating the unwanted blue

by Edwin Yang


Leave a comment
This site is protected by hCaptcha and the hCaptcha Privacy Policy and Terms of Service apply.